When you are using Mac and you want to burn your videos on Mac with iDVD, you have to make sure your videos are in QuickTime MOV, or else you may not be successful to do the burning. Now if you shot footages with Sony F5 and you want to store the videos on DVD, you should pay attention to the format of the videos. As we know that Sony PMW-F5 is a 4K camcorder that output 4K videos with the format of XAVC. This format is new and incompatible with iDVD, so if you still want to use iDVD, you need to convert XAVC to iDVD.
However, if you are using a DVD Creator, you can omit the conversion part and directly burn your videos to DVD on Mac. iOrgSoft XAVC to DVD Creator for Mac is such a Mac XAVC to DVD maker for you to burn all videos to DVD on Mac. If you have no DVD disc at hand, you can also use this creator to save XAVC to ISO. Besides, this software won’t cost you too much time to burning videos as it features time-saving and highly effective. You can just download it and have a try with the specific steps I’d like to show you below:


Tip: this is a Mac version, there still has a Windows version, you can just click here: iOrgSoft DVD Creator.
Step 1. Download the DVD Creator free on trial
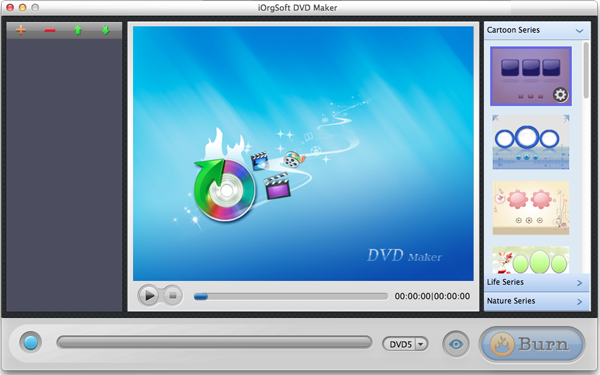
At first, you should download the free trial by clicking the download link above. Then get it installed and launch it. You will see the interface as below:
Step 2. Import your XAVC files to the creator
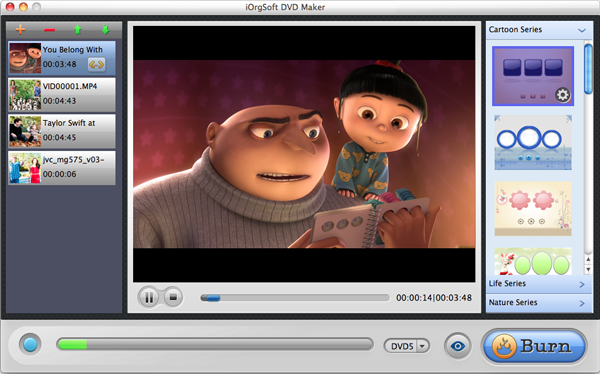
In this step, you have to add your XAVC footages to the creator by hitting the “+” button. Then you can select the files that you want to burn. You can add bunches of videos at a time.
Step 3. Create the personalized DVD menu
Can you see the column on the right? In this column, you can customize the background image, music, titles, and you can add the forward and backward button with different look. When you put your cursor to the template, you can see an icon like tool, then click it and you can do the customize work. If you don’t want to add anything but want only burning, you can jump to step 4.
customize-add-background-to-dvd.png
Step 4. Begin to burn XAVC to DVD on Mac
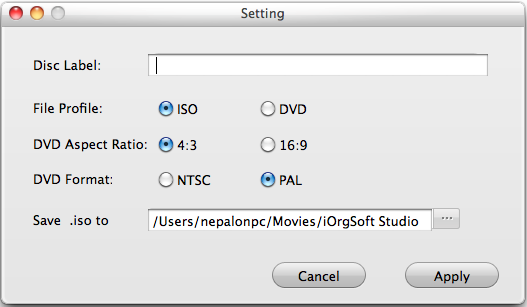
The last step is to run burning. When you click “Burn” button, you will see a pop-up “Setting” window that allows you to select the output path if you are choosing the “File Profile” as ISO, names your DVD, chooses the format of it, and so on. If you want to burn right away, you may choose the “File Profile” as DVD, and then insert your blank DVD disc, click “Apply” in the “Setting” window, and wait for the burning.
Extending reading:
1. You may find an option “DVD5/9” on the bottom of the creator, it means that you can burn a 120min DVD(DVD5) or an 240min one(DVD9). This option is due to the specification of your DVD disc.

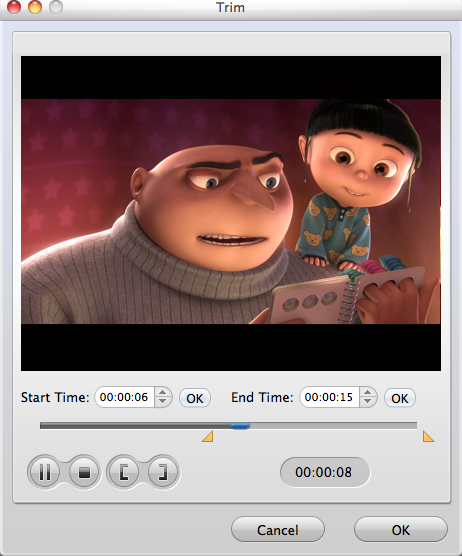
2. You can also clip your videos by hitting the trim button. It’s a little bit hidden. You may find it by moving your cursor to the adding file and you’ll see an orange with two arrows, click it and you can begin to trim your files.